Velvet: Beautiful, and a Little Tricky
Few fabrics look as rich as velvet. Its soft pile catches the light, deepens colour and instantly makes a cushion, curtain or dress feel special. That same pile is what makes velvet a little more challenging to sew: it shifts, it marks easily and it looks different depending on which way you view it. With the right preparation, though, velvet is very achievable. Here's how.
Know Your Velvet
Not all velvets behave the same way. Check the description before you start:
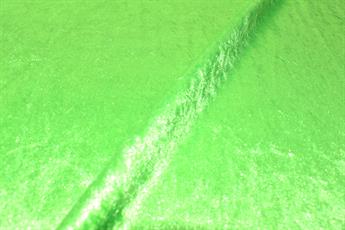
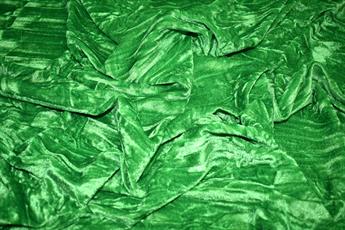
- Crushed velvet: a stretchy, textured velvet with a random, shimmering finish. Ours is 100% polyester, 150cm wide and around 175gsm, with two-way stretch, great for dresses, costumes and theatre.
- Crushed velour: a soft knitted velvet, heavier than standard crushed velvet and naturally stretchy, ideal for costumes and clothing.
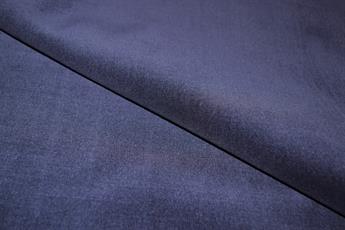
- Cotton velvet: a non-stretch, 100% cotton velvet (ours is 112cm wide) with a classic matte richness, lovely for jackets, dresses and craft.
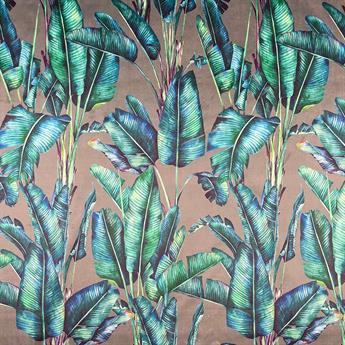
- Furnishing velvet: heavier, hard-wearing velvets for upholstery and home décor. Our digitally printed furnishing velvets are 100% polyester, 148cm wide and 290gsm.
Browse our plain velvets and printed velvets.
1. Work Out the Nap Direction
Velvet has a "nap": the pile lies in one direction. Stroke the fabric. It feels smooth one way and rough the other, and the colour looks slightly different each way.
- Pile running down the garment looks lighter and shinier, and wears well.
- Pile running up looks deeper and richer in colour.
Whichever you choose, cut every piece in the same direction. Use a "with nap" layout, and allow a little extra fabric because pieces can't be flipped to save space.
2. Cutting Velvet
- Cut in a single layer, pile side down, so the pieces don't slide against each other.
- Mark the nap direction on the back of each piece with chalk or a small arrow.
- Use sharp shears or a rotary cutter, and pattern weights rather than lots of pins.
- Cut from the back of the fabric where possible to reduce shedding on the pile.
3. Pinning and Stitching
- Pin within the seam allowance only, or use sewing clips, as pins can leave marks in the pile.
- Tack (baste) long seams first. Velvet layers "creep" against each other as you sew.
- Use a walking foot if you have one. It feeds both layers evenly and prevents puckering.
- Lengthen your stitch slightly (around 2.5–3mm) and reduce the presser foot pressure if your machine allows.
- Sew in the direction of the nap where possible.
- For stretch velvet, use a ballpoint or stretch needle and a narrow zigzag or stretch stitch.
- For non-stretch cotton or furnishing velvet, use a sharp universal or microtex needle, going up a size for heavier furnishing velvets.
4. Pressing Without Crushing
This is where most velvet projects go wrong. Never press directly on the pile with a hot iron.
- Press from the wrong side, using low to medium heat.
- Place the fabric pile-down on a spare piece of velvet or a thick fluffy towel so the pile isn't flattened.
- Use steam and finger-press seams open rather than leaning on the iron.
- Try a test scrap first, especially with polyester velvets, which can be heat sensitive.
5. Finishing Touches
- Velvet can fray, so finish seams with an overlocker, zigzag stitch or bias binding.
- Hand-stitch hems for an invisible finish on garments.
- Line velvet garments with a smooth lining so they slip on easily.
- Shake out or lint-roll finished pieces to lift any flattened pile.
Beginner-Friendly Velvet Projects
- Cushion covers: straight seams and a great way to practise. See our guide to the best fabric for cushion covers.
- Scrunchies and headbands: quick makes that use tiny amounts of crushed velvet.
- Christmas stockings and decorations
- Curtains: velvet adds warmth and richness. See our guide to the best fabric for curtains.
Ready to Try Velvet?
If it's your first velvet project, start with a stretch crushed velvet or a small cushion in furnishing velvet. Take it slowly, respect the nap and protect the pile when pressing, and the results will look wonderful. Explore our full velvet fabric collection, and pick up clips, needles and thread from our sewing essentials.
Ready to start your project?
Shop Fabrics →